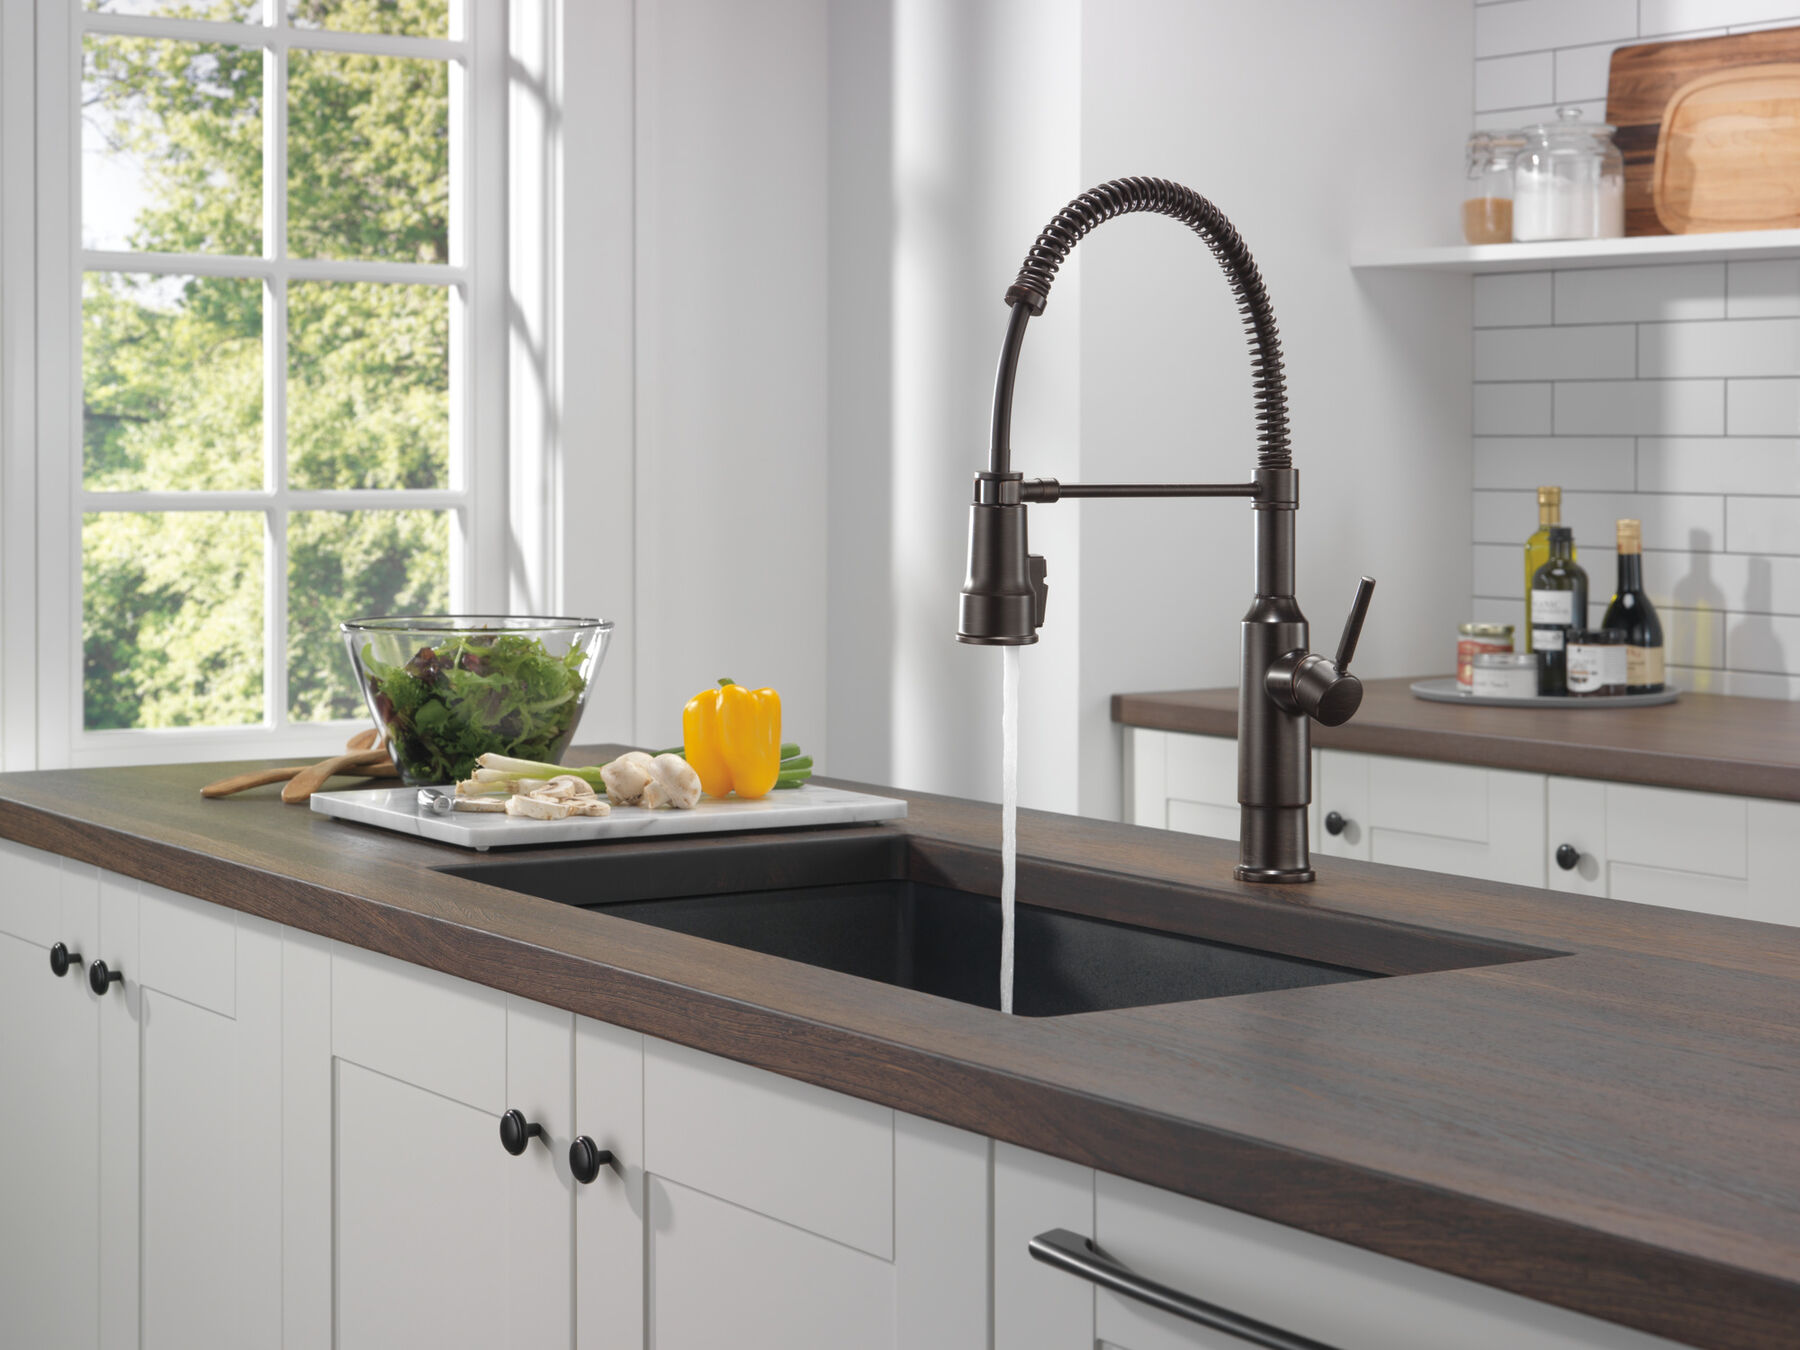
A leaky kitchen faucet can be both an annoyance and a waste of precious resources. The constant drip not only disrupts your peace but also contributes to unnecessary water wastage. Fortunately, fixing a leaky kitchen faucet is a task that can be tackled with a bit of patience and some basic tools. In this step-by-step guide, we’ll walk you through the process of identifying, diagnosing, and repairing the most common causes of a leaky kitchen faucet.
Step 1: Gather Your Tools and Materials
Before diving into the repair process, it’s essential to gather the necessary tools and materials. You’ll typically need an adjustable wrench, a screwdriver, replacement O-rings, plumber’s tape, and a bucket or towel to catch any water drips. Make sure to turn off the water supply to the faucet before starting the repair.
Step 2: Identify the Type of Faucet
Different types of kitchen faucets may have varying mechanisms, so it’s crucial to identify the specific type you have. Common types include ball faucets, cartridge faucets, compression faucets, and ceramic disk faucets. Each type requires a slightly different approach to repair, so knowing your faucet’s type is the first step in the troubleshooting process.
Step 3: Turn Off the Water Supply
Locate the shut-off valves under the sink and turn off the water supply to the faucet. This ensures a mess-free and efficient repair process. Once the water is turned off, turn on the faucet to release any remaining water in the lines and relieve pressure.
Step 4: Remove the Faucet Handle
Using an adjustable wrench and/or screwdriver, carefully remove the faucet handle. Depending on the type of faucet, this may involve unscrewing a set screw, prying off a decorative cap, or simply lifting the handle. Expose the underlying mechanism for further inspection.
Step 5: Inspect and Replace O-Rings or Washers
In many cases, a leaky faucet is caused by worn-out O-rings or washers. Inspect these components for signs of wear, corrosion, or damage. If you notice any issues, replace the O-rings or washers with new ones. This straightforward replacement often resolves leakage problems.
Step 6: Examine the Cartridge or Valve
For cartridge or disk faucets, inspect the cartridge or valve for any visible damage or wear. Remove and replace the damaged component if necessary. Keep in mind that cartridges and valves can vary between manufacturers, so it’s advisable to consult your faucet’s user manual for specific guidance.
Step 7: Apply Plumber’s Tape
If you have a compression faucet, which typically uses a rubber washer, apply plumber’s tape to the threads of the valve stem. This helps create a watertight seal when reassembling the faucet. Make sure the tape is wrapped clockwise to prevent unraveling during reinstallation.
Step 8: Reassemble the Faucet
Once you’ve made the necessary repairs or replacements, reassemble the faucet in the reverse order of disassembly. Tighten screws and connections securely, ensuring there are no loose parts. Be mindful not to overtighten, as this can lead to damage.
Step 9: Turn On the Water Supply
With the faucet reassembled, turn on the water supply gradually. Check for any leaks or drips. If the leakage persists, double-check your repairs and ensure all components are correctly installed. Tighten any loose connections as needed.
Step 10: Test and Monitor
Turn on the faucet and let the water flow to test the repairs thoroughly. Monitor the faucet for any signs of leaks over the next few hours to ensure that the issue has been successfully resolved.
Conclusion:
Fixing a leaky kitchen faucet is a DIY task that can save you both money and the environment. By following these step-by-step instructions and taking a systematic approach to identify and address the root cause of the leak, you can restore your kitchen faucet to its efficient, drip-free state. Remember to exercise patience, refer to your faucet’s user manual when needed, and enjoy the satisfaction of conquering the drip with your newfound plumbing skills.
 Avitas Home